To install a virtual network adapter in Windows 10, go to Device Manager, select “Action,” choose “Add Legacy Hardware,” follow the prompts and select “Network Adapter” from the options. Adding a virtual network adapter in Windows 10 can be essential for running virtual machines or creating virtual networks.
A virtual network adapter is an alternative to a physical network adapter and allows multiple VMs or virtual networks to share a single physical adapter. Once installed, a virtual adapter can be used to connect to other VMs or virtual networks, enabling communication between them.
This guide will provide you with a simple, step-by-step process to install a virtual network adapter in Windows 10 using Device Manager. So, let’s get started!
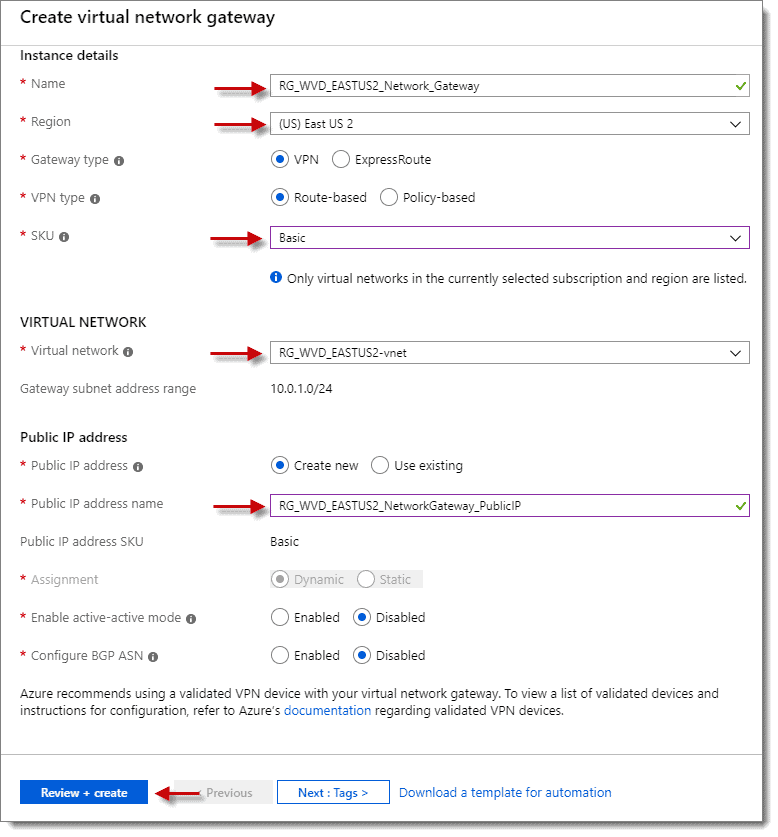
Credit: www.policypak.com
Step 1: Open Network Connections
Installing a virtual network adapter in Windows 10 is an easy process. To begin, click the Start button and type ‘View network connections’ in the search bar. From the search results, select ‘View network connections.’
Once you have opened Network Connections, click the ‘File’ menu in the top left corner and select ‘New incoming connection.’ This will open the ‘Welcome to the Incoming Connections Wizard’ window. Follow the wizard to add a new virtual network adapter.
During the wizard, select the user accounts that will be able to connect to the virtual network adapter. You can also choose which protocols will be available to the virtual network adapter. Once you have completed the wizard, the virtual network adapter will be added to the Network Connections window. You can now use the virtual network adapter to connect to a remote computer or access a VPN.
| Step | Description |
|---|---|
| Step 1 | Click the Start button |
| Step 2 | Type ‘View network connections’ |
| Step 3 | Select ‘View network connections’ |
| Step 4 | Click the ‘File’ menu in the top left corner |
| Step 5 | Select ‘New incoming connection’ |
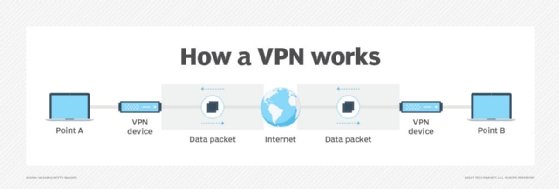
Credit: www.techtarget.com
Step 2: Add A Virtual Network Adapter
To install a virtual network adapter in Windows 10, follow these easy steps:
- Click on ‘File’.
- Select ‘New Incoming Connection’.
- Check ‘Allow other people to connect’.
- Click ‘Add someone’.
- Select a user.
- Click ‘Finish’.
By following these steps, you can easily add a virtual network adapter to your Windows 10 system. This will allow you to connect to the internet and other devices from within a virtual machine, making it easier to manage multiple virtual environments. Making use of virtual network adapters can also increase productivity and make it easier to work across multiple systems.
Step 3: Configure Virtual Network Adapter
To configure the virtual network adapter in Windows 10, you need to:
- Open ‘Control Panel’
- Click on ‘Network and Sharing Center’
- Click on ‘Change adapter settings’
- Right-click on ‘Incoming Connections’
- Click on ‘Properties’
- Configure settings as needed
After opening the Control Panel, navigate to Network and Sharing Center and select Change adapter settings. Right-click on Incoming Connections and click on Properties. On the Properties window, you can configure the settings as per your requirements. Ensure that you only make changes that you are familiar with, and if you are unsure of any options, seek help from an expert.
Step 4: Connect To The Virtual Network Adapter
Step 4: Connect to the Virtual Network Adapter
Once you have installed the virtual network adapter in Windows 10, the next step is to connect to it. To do this, follow the steps given below:
| Step 1 | Open ‘Control Panel’ |
| Step 2 | Click on ‘Network and Sharing Center’ |
| Step 3 | Click on ‘Set up a new connection or network’ |
| Step 4 | Select ‘Connect to a workplace’ |
| Step 5 | Enter connection details |
| Step 6 | Click ‘Connect’ |
Connecting to the virtual network adapter in Windows 10 is a simple and straightforward process. By following these steps, you can easily connect to the adapter and start using it for your virtual networking needs.
Step 5: Troubleshooting Connectivity Issues
If you encounter connectivity issues during the installation of a virtual network adapter in Windows 10, you can troubleshoot the problem by checking your network settings, resetting your network adapter, and updating your network drivers. These steps can help ensure a successful installation and smooth functioning of the virtual network adapter.
Installing a virtual network adapter in Windows 10 might sometimes lead to connectivity issues. If you face any such issues, first ensure that you have configured all the network settings properly. You should also check for any conflicting network adapters on your system. If you find any, disable them to avoid any conflict with the virtual network adapter. Another quick fix for connectivity issues is to flush the DNS cache. This will clear any stored information that may be causing the issue. And lastly, restarting the virtual adapter can also help resolve connectivity issues.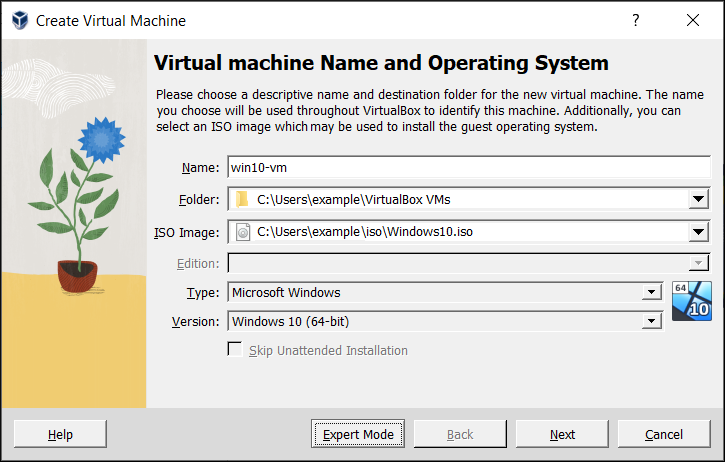
Credit: www.virtualbox.org
Frequently Asked Questions On How Do I Install A Virtual Network Adapter In Windows 10
How Do I Setup A Vm Network Adapter?
To set up a VM network adapter, open the virtual machine settings and select the network adapter option. Choose the desired network option and configure the adapter settings accordingly. You can also customize the network adapter settings for optimal performance.
How Do I Create A Virtual Nic?
To create a virtual NIC, follow these steps: 1. Navigate to the virtual machine’s settings. 2. Select “Add Hardware” and choose “Network Adapter” as the type. 3. Choose “Virtual Network” for the adapter settings. 4. Configure the settings as per your requirement.
5. Save the changes and start the virtual machine.
How Do I Add A Network Adapter To My Computer?
To add a network adapter to your computer, first purchase the adapter and confirm its compatibility with your computer’s operating system. Next, install any necessary software or driver updates. Shut down your computer, open the case, and carefully insert the adapter into an available PCI or PCIe slot.
Close the case and power on your computer. Finally, configure the adapter’s settings according to your preferences.
How To Install Network Adapter Windows 10?
To install a network adapter in Windows 10, first, check if your computer has a built-in adapter. If not, buy an external adapter. Connect the adapter to your computer, then turn it on. Windows will detect the adapter and install the necessary driver.
Finally, restart your computer.
Conclusion
Now you know how to install a virtual network adapter in Windows 10. It’s a crucial step to ensure your computer’s network connectivity is working correctly. By following the step-by-step guidelines we’ve shared in this blog, you can install the virtual network adapter without any hassle.
Enjoy your smooth and stable network connection!