To make a DVD slideshow with music on Windows 10, use the built-in Photos app. Simply select the photos and music you want to include, and the app will guide you through the process of creating a slideshow and burning it to a DVD.
This is an easy and user-friendly way to combine your favorite photos and songs into a memorable DVD slideshow. If you have a collection of photos and music that you want to share with friends and family, creating a DVD slideshow is the perfect solution.
By combining your favorite photos and songs, you can create a personalized, multimedia experience that will be cherished for years to come. With Windows 10, you have everything you need to make a DVD slideshow at your fingertips. We will guide you through the process of using the built-in Photos app to create a DVD slideshow with music on Windows 10.

Credit: www.amazon.com
Get Started
Creating a DVD slideshow with music on Windows 10 is easy. You can start by selecting the photos you want to use, choosing the music, and then using a DVD authoring tool to create the slideshow. Windows 10 has several options for DVD authoring, including Windows DVD Maker, Windows Media Player and third-party software.
Get Started:
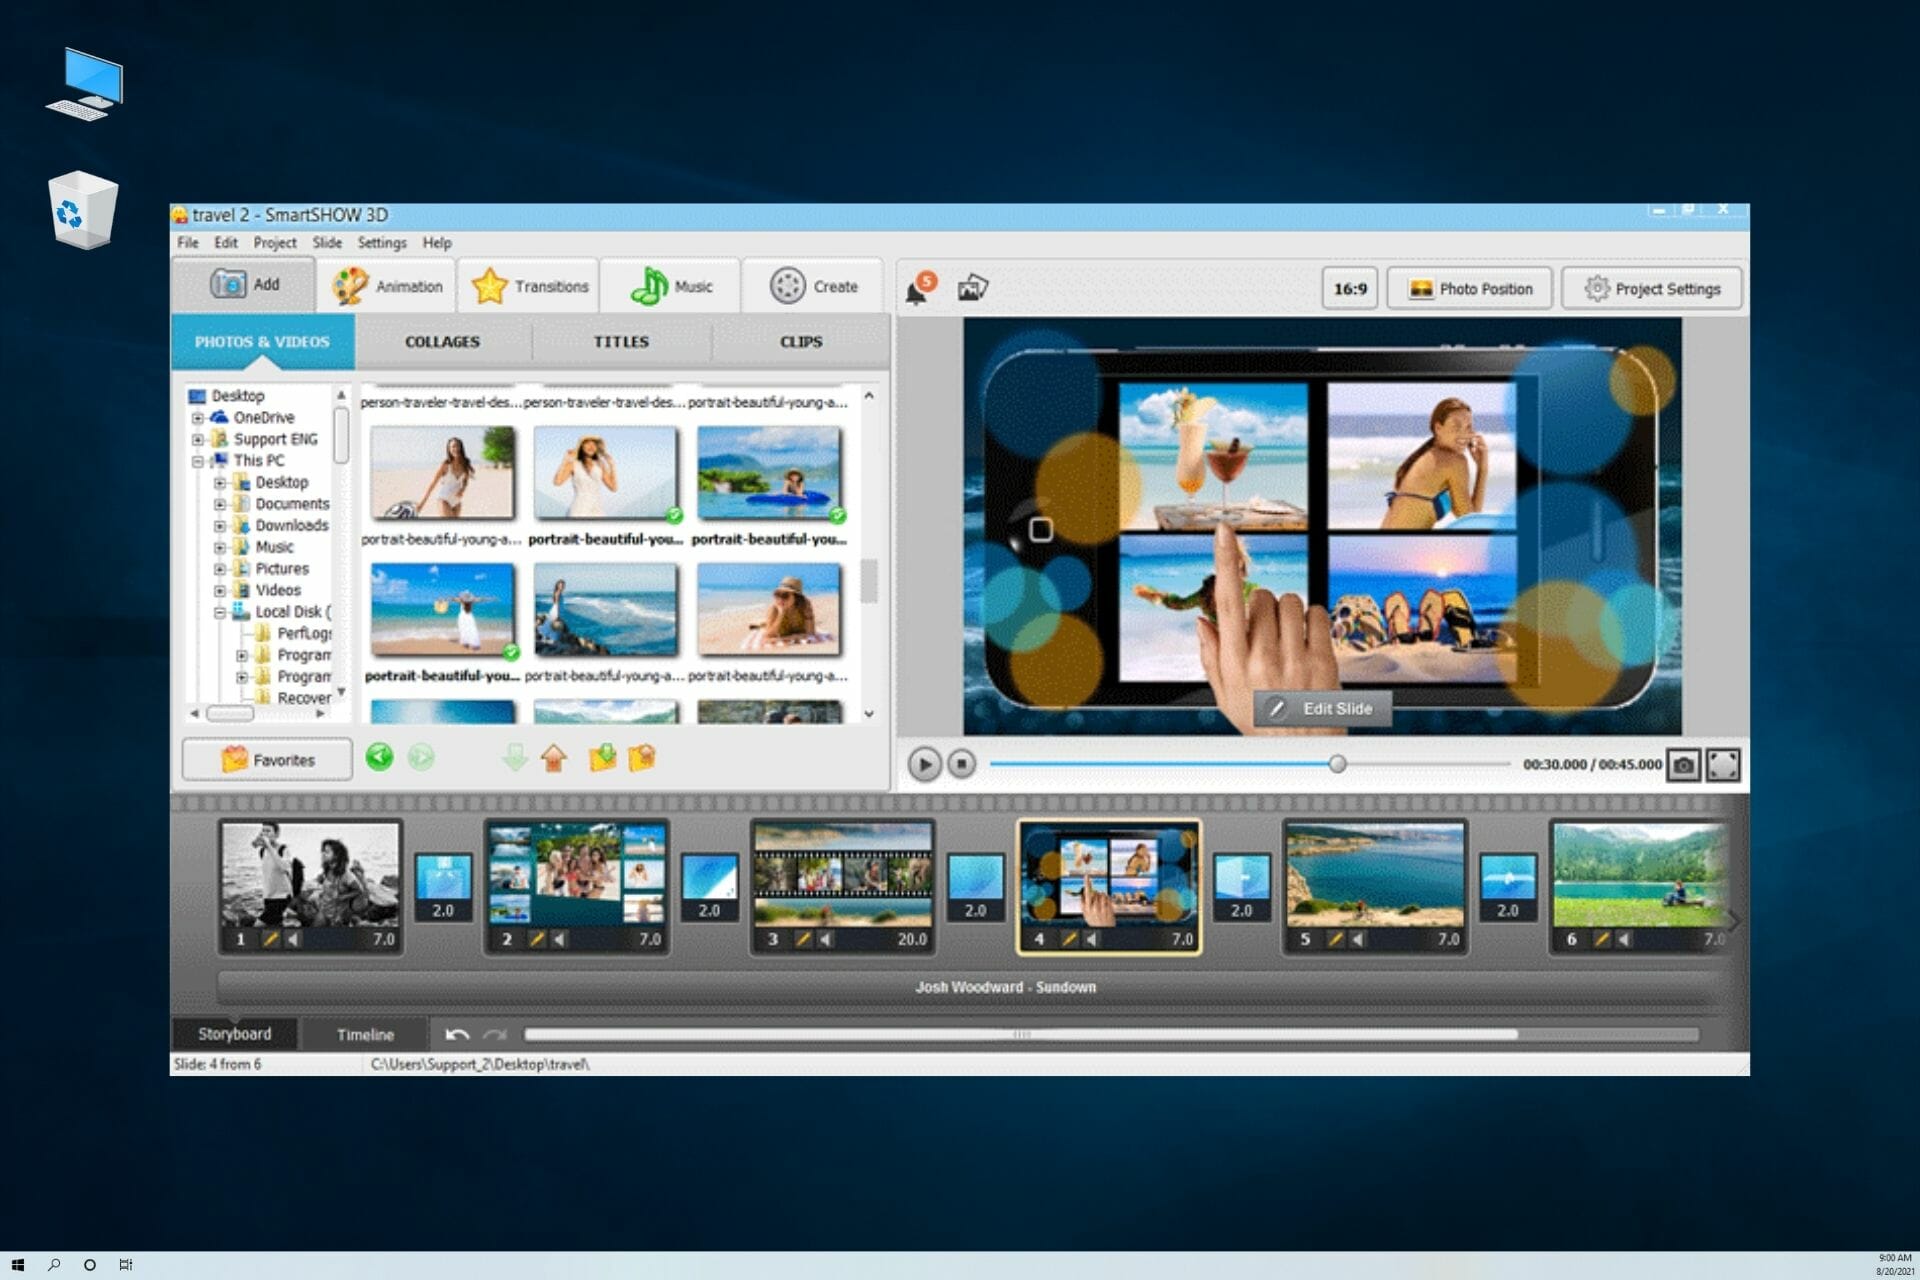
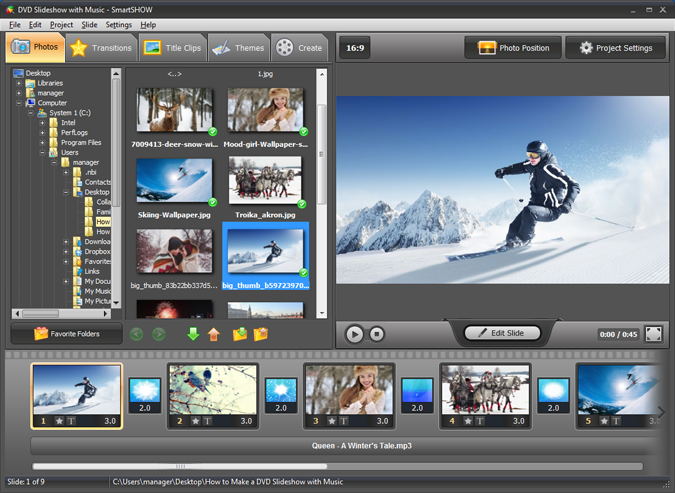
To create a DVD slideshow with music on Windows 10, you need a slideshow creator. There are many slideshow creators available, both free and paid. Choose the one that suits your needs, download it, and install it on your computer. Once you have the slideshow creator set up, you can begin selecting the photos and videos you want to include in your slideshow. Organize them in the order you want them to appear and choose the music you want to accompany them. Make sure your photos and videos are in a supported format for the slideshow creator you’ve chosen. Now, launch the slideshow software and create a new project. Import your photos and videos and add them to the timeline. Edit them to your liking by adding effects, filters, and transitions. Then, select the music you want to add to your slideshow. When you’re ready, preview your slideshow to see how it looks and sounds. Once you’re satisfied, export your slideshow to a DVD and enjoy it on your DVD player!Add Music
To add music to your DVD slideshow, you need to have the audio file in a supported format such as MP3, WAV or WMA. Once you’ve acquired the audio files, choose songs that fit the mood and theme of your slideshow.
You also need to adjust the length of the slideshow to match the length of the music. Longer songs require more images, shorter songs require fewer images. You can adjust the duration of each picture to match the music using the video editing software you’re using.
Remember to use appropriate transitions between images to keep things interesting. Also, make sure that the music and images flow smoothly and create a cohesive storyline.
Customize Slideshow
Create a personalized DVD slideshow on Windows 10 by customizing your photos and adding music. Use the built-in tool or download software from trusted sources to create a unique slideshow with transitions and effects.
| Add Transitions | Filters and Effects | Add Text and Captions |
|---|---|---|
| To add transitions between photos and videos, click on the Transitions tab and select the desired transition. You can preview it before adding it to your slideshow. | You can apply filters and effects to your photos and videos by clicking on the Edit & Create tab and selecting Edit. From here, you can choose from various options such as Filters, Adjustments, and Crop & Rotate. | To add text and captions, click on the Text tab and select the desired style. You can customize the font, size, color, and position. After typing in your text, click Done to apply the changes. |
Credit: windowsreport.com
Preview And Edit
Make a DVD slideshow with music on Windows 10 with Preview and Edit. This feature allows you to select photos or videos, add and edit music, and create a personalized slideshow. You can preview your creation before finalizing it.
Share Your Creation
Create a personalized DVD slideshow with music on Windows 10 using the Share Your Creation program. Select your favorite photos and add custom background music to make your memories come to life.
To save your slideshow as a DVD on Windows 10, you can use the built-in Windows DVD Maker. First, select “Burn a DVD video disc” from the menu. Then, add your slideshow and choose the appropriate DVD settings. Finally, click “Burn” to create the DVD. Once your DVD is complete, you can share it with family and friends by uploading it to social media. Just make sure to compress the file if necessary to make it easier to upload.
Credit: slideshow-maker.com
Frequently Asked Questions Of How Do I Make A Dvd Slideshow With Music On Windows 10
How Do I Make A Picture Dvd With Music On Windows 10?
To make a picture DVD with music on Windows 10, follow these steps: first, open the Photos app and select ‘Create a video’. Next, choose pictures and videos that you want to include and click ‘Add’ button. Then, press ‘Custom audio’ and select music file from your PC.
Finally, click ‘Finish’ and save the project in DVD format.
How Do I Add Music To A Slideshow In Windows 10?
To add music to a slideshow in Windows 10, open the Photos app and create a new project. Then, select “Add Music” and choose the desired song from your personal music library. Finally, customize the timing and volume of the soundtrack and save your completed slideshow.
How Do I Make A Video With Pictures And Music On Windows 10?
You can make a video with pictures and music on Windows 10 by using the built-in Photos app. Open the Photos app, select the pictures and videos you want to include, click on “Create video”, choose the “Automatic” option for a quick video, add music and click on “Create” to save and share your video.
Does Windows 10 Have A Built In Slideshow Maker?
Yes, Windows 10 has a built-in slideshow maker. It’s called “Photos” and it allows you to create and edit photo slideshows with music, effects, and captions. You can also customize your slideshow by choosing different themes and settings.
Conclusion
Creating a DVD slideshow with music on Windows 10 is a simple process that can be achieved with the right tools. With the built-in Windows video editor or free third-party software, you can easily turn your precious memories into a beautiful slideshow that can be enjoyed by anyone.
Take the time to experiment with different effects, transitions, and music to create a personalized and unforgettable experience for your viewers. So, get creative and start making your own DVD slideshows with music on Windows 10 today!